meta data for this page
Sync Sensor Installation for Alps Disk II
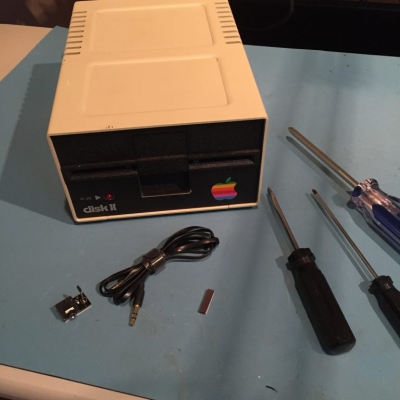
What you need for this installation
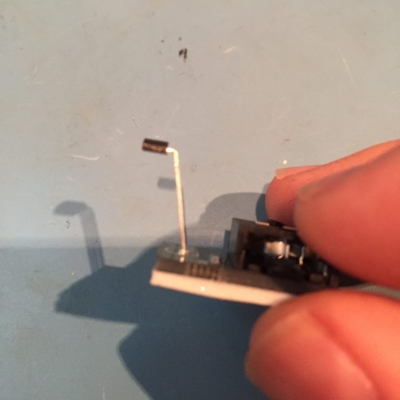
The sync sensor kit comes with 3 components. The sync sensor, cable and an adhesive-backed magnetic strip.
Opening the case
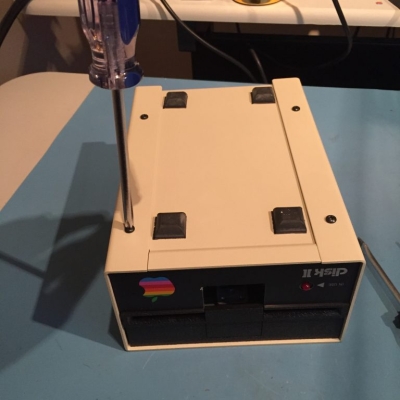
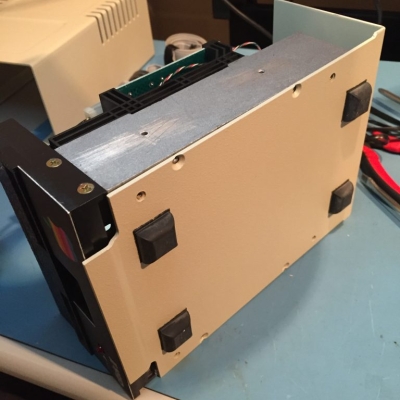
Remove the drive base
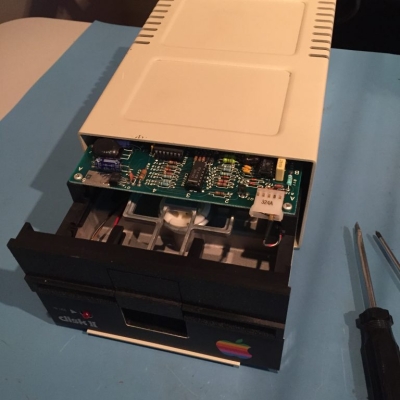
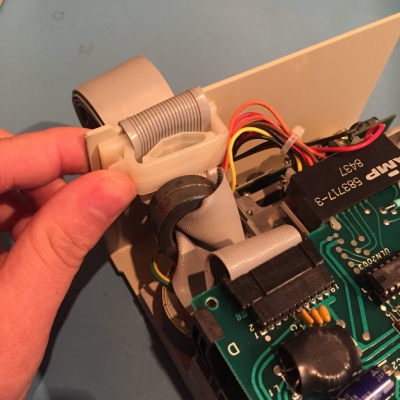
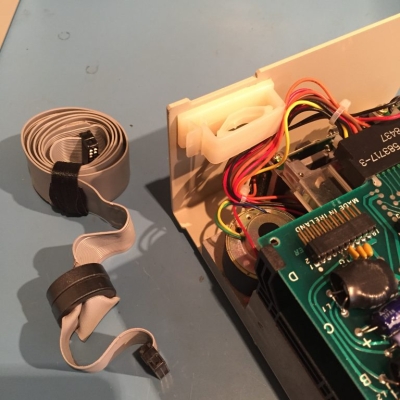
Remove the ribbon cable from the drive. You will need to press the little latch to unhook the cable from the case bottom. Then unplug the 20-pin connector and remove the assembly.
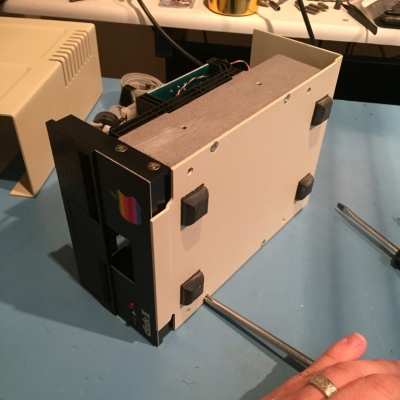
Flip the drive on its side and remove the 4 screws underneath.
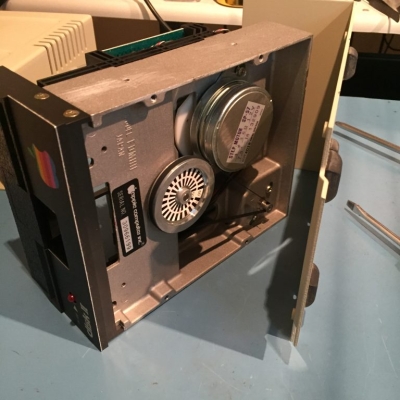
Remove the drive belt
Clean the mounting areas
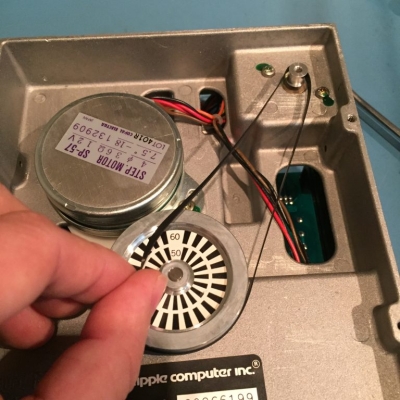
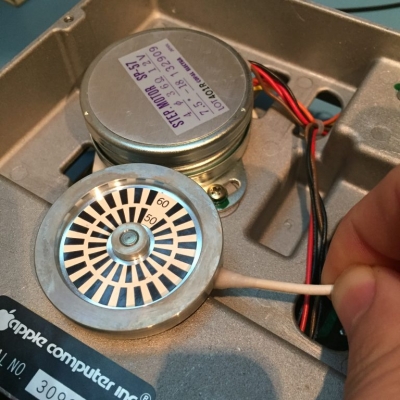
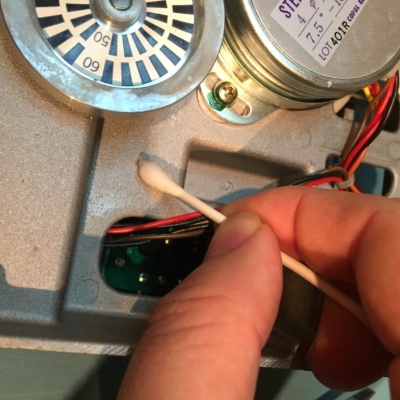
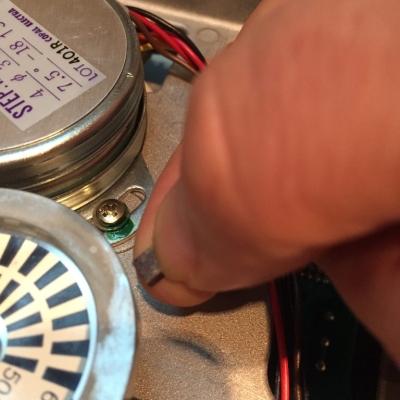
Before adhering the parts to the inside of the drive, you need to make sure that the surfaces are clean. It is best to use isopropyl alcohol on cotton swabs to do this. You need to clean the underside of the wheel. Spin the wheel with one hand while cleaning. You also need to clean the area below the wheel where the sync sensor will mount.
Mounting the magnet
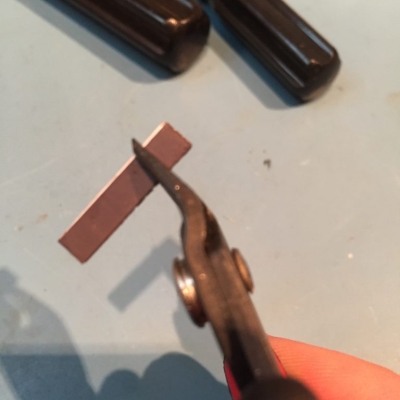
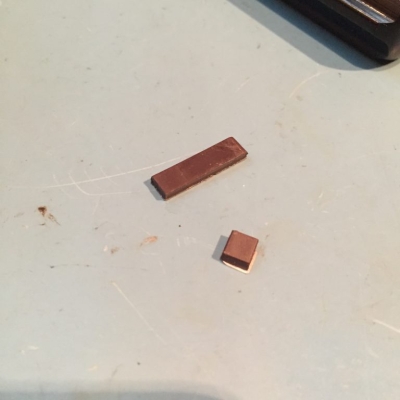
Cut a small square from the end of the strip of magnet included with the kit.
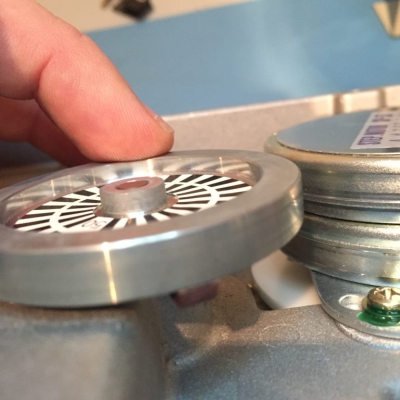
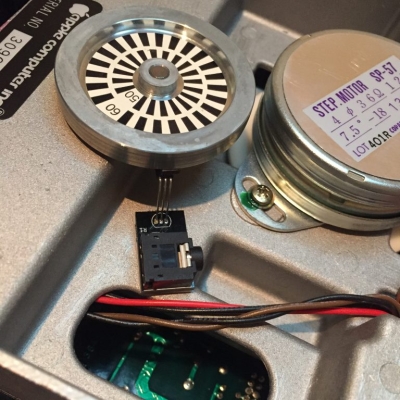
Pull the backing off of the tiny square you just cut and mount the magnet to the underside of the wheel. It should have an edge lined up exactly with the edge of the wheel. It should not protrude past the edge of the wheel.
Now, make sure that the wheel spins freely 360 degrees. The magnet should not rub anywhere. If it is rubbing, then you can place a flathead screwdriver between the wheel and the frame and very gently pry the wheel upwards just until the wheel spins freely.
Mounting the sensor
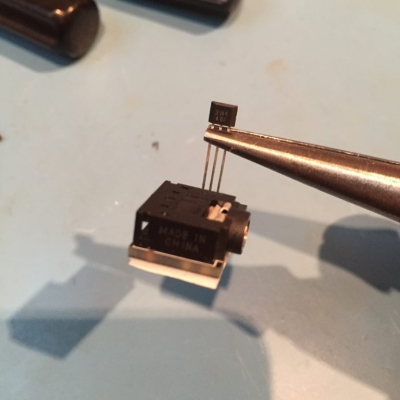
First, you will want to put the sensor in place just to measure how tall it should be. It will need to be bent in order to properly face the magnet as well as fit under it.
Once you know approximately how tall it should be, you will need to use some pliers to help bend it into the correct shape.
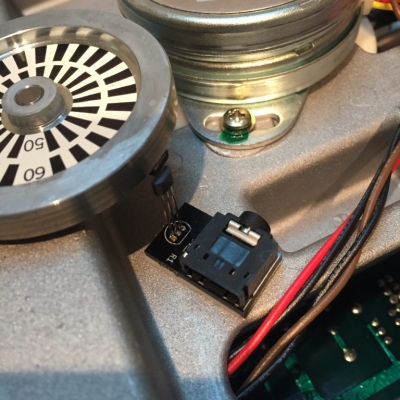
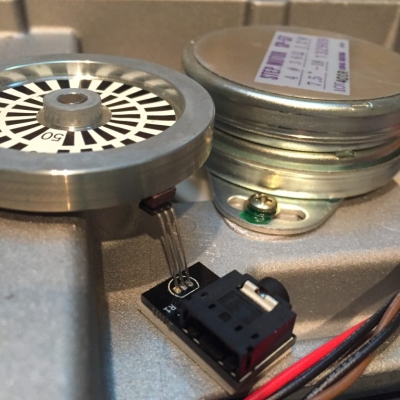
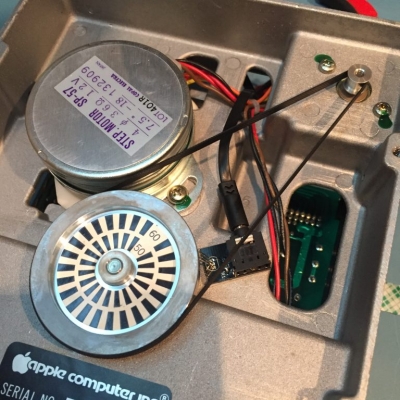
Then, test fit the sensor underneath the magnet. It should not touch the magnet, but there should be as little space between the sensor and magnet. The black head on the end of the sensor needs to be as perfectly lined up under the magnet as possible. It should also be lined up pointing at the center of the wheel as much as possible.
When you know where you are going to place the sensor, remove the paper from the adhesive strip on the underside of the sync sensor. Carefully install the sync sensor into the correct position. Once you press it down, it will be stuck really well, so try not to mess it up. After you have it in place, you can tweak the position of the sync sensor head to make sure that it is still good relative to the magnet.
Install the cable
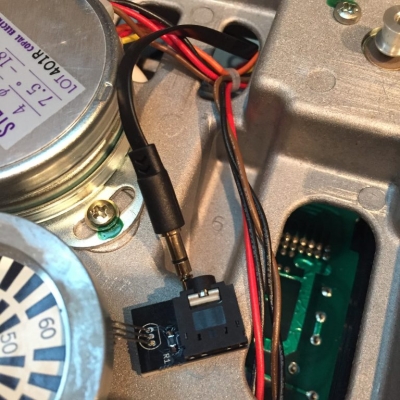
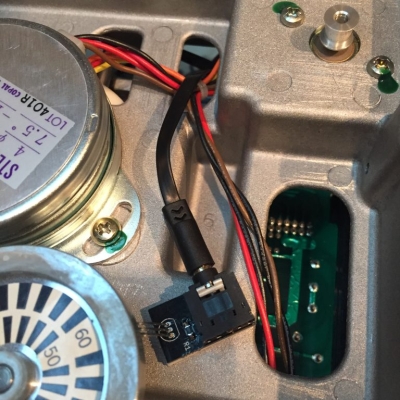
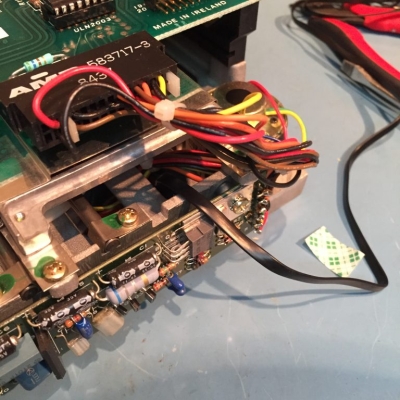
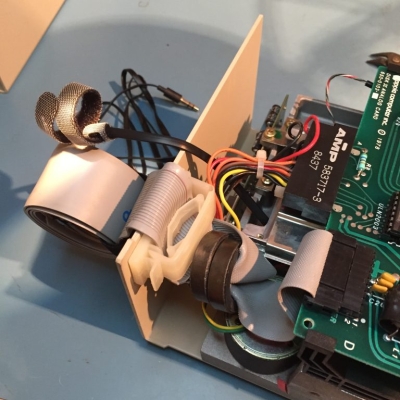
You next want to get the cable and fish it through the hole in the frame as shown in these pictures. You then want to carefully plug the cable into the sync sensor.
Test the sync sensor using the Applesauce client
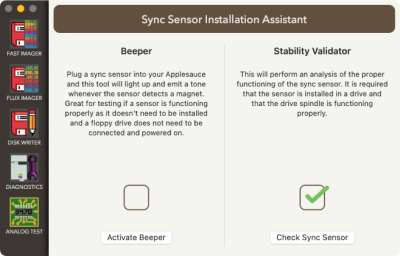
Take the other end of the sync sensor cable and plug it into your Applesauce (make sure that the Applesauce USB is unplugged first). Do not connect up the floppy drive! With the cable in, plug in the Applesauce USB and open up the client software. Under the Drive menu, select the Sync Sensor Assistant… item which will show the screen below. Press the Activate Beeper button. Now you can rotate the wheel and a tone will be emitted from your computer whenever the magnet is right above the sensor. Adjust the position/distance of the sensor so that the tone is sounded very reliably. Next move the magnet very slowly across the sensor and ensure that the tone remains solid the entire time. If the tone turns off and then back on in a single pass of the magnet, then it is very likely that the piece of magnet you are using is damaged (this can happen sometimes when cutting it). If all seems to be working well, then turn off the Beeper and get back to reassembling your drive. Don’t forget to unplug the USB before you unplug the sync sensor from you Applesauce.
Replace the motor belt
You should now place the belt back onto the wheel. It is easiest if you install it on the smaller end first and then rotate the wheel as you place the belt on it.
Reinstall the drive frame into case
You are now ready to put the case back on. Put the bottom on first and install the cable. Be sure to orient the cable correctly and then double-check it.
Now it is time to plug your drive and sync sensor into your Applesauce. Go back to the Sync Sensor Assistant and use the Stability Validator to make sure that the installation checks out good. Once everything seems to be working ok, you can finish putting the case back on the drive.
CONGRATULATIONS! YOU ARE DONE INSTALLING THE SYNC SENSOR!


